Importing files
Import 2016 interview files
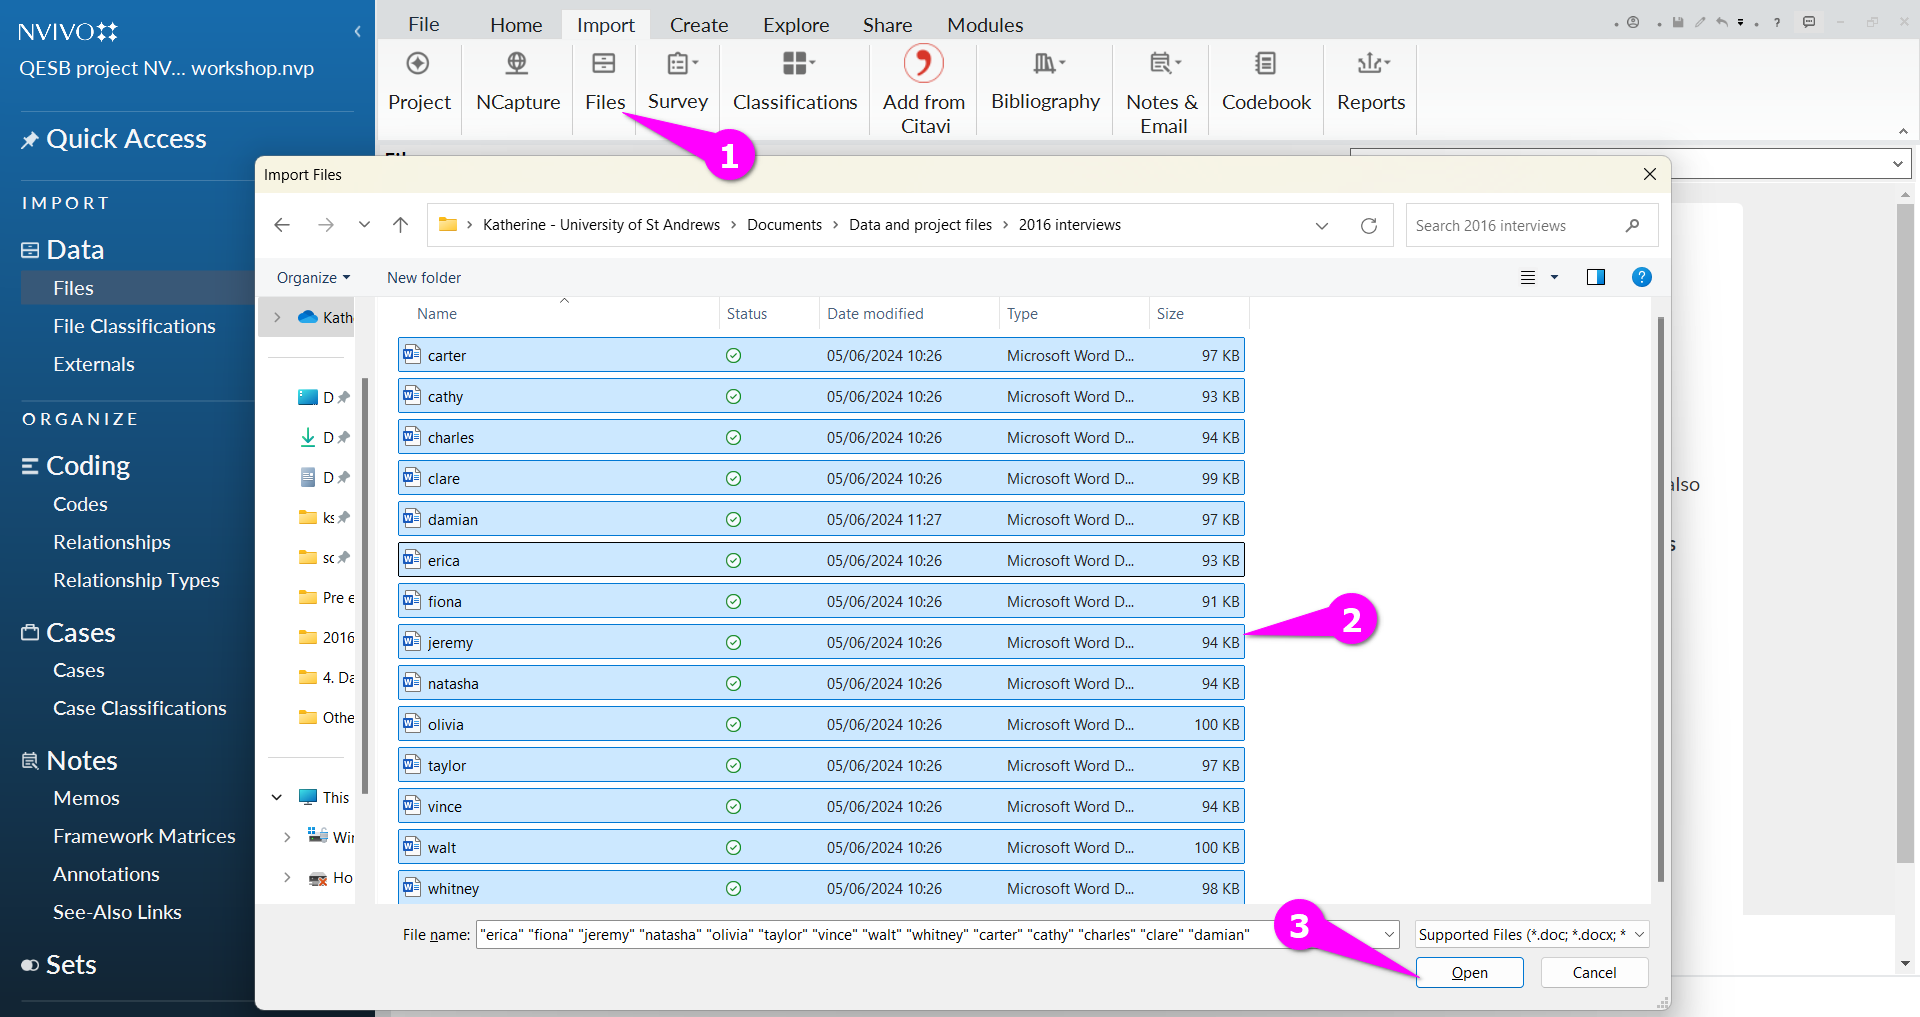
From the Import Ribbon, select ‘Files’.
Navigate to your saved folders and open “2016 Interviews”.
Select the 14 transcript files (saved by first name), and click ‘open’:
Automatically create cases as you import (Windows only)
Next, a box will pop up:
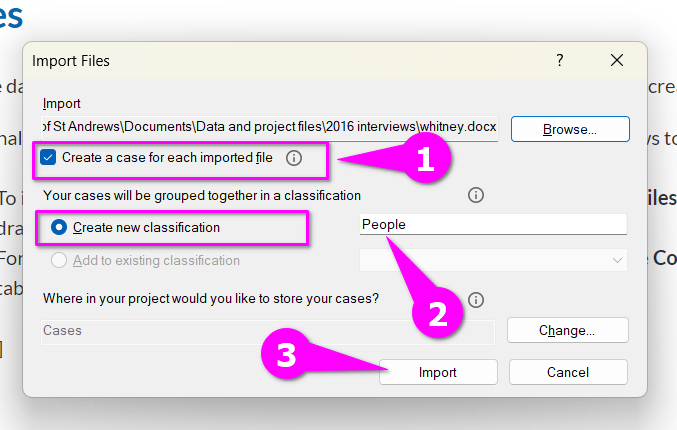
Tick the box in the import window to ‘Create a case for each imported file’ (1).
As this is a new project, select “create new classification” and label it ‘people’ then click ‘import’ (2).
Click import (3)
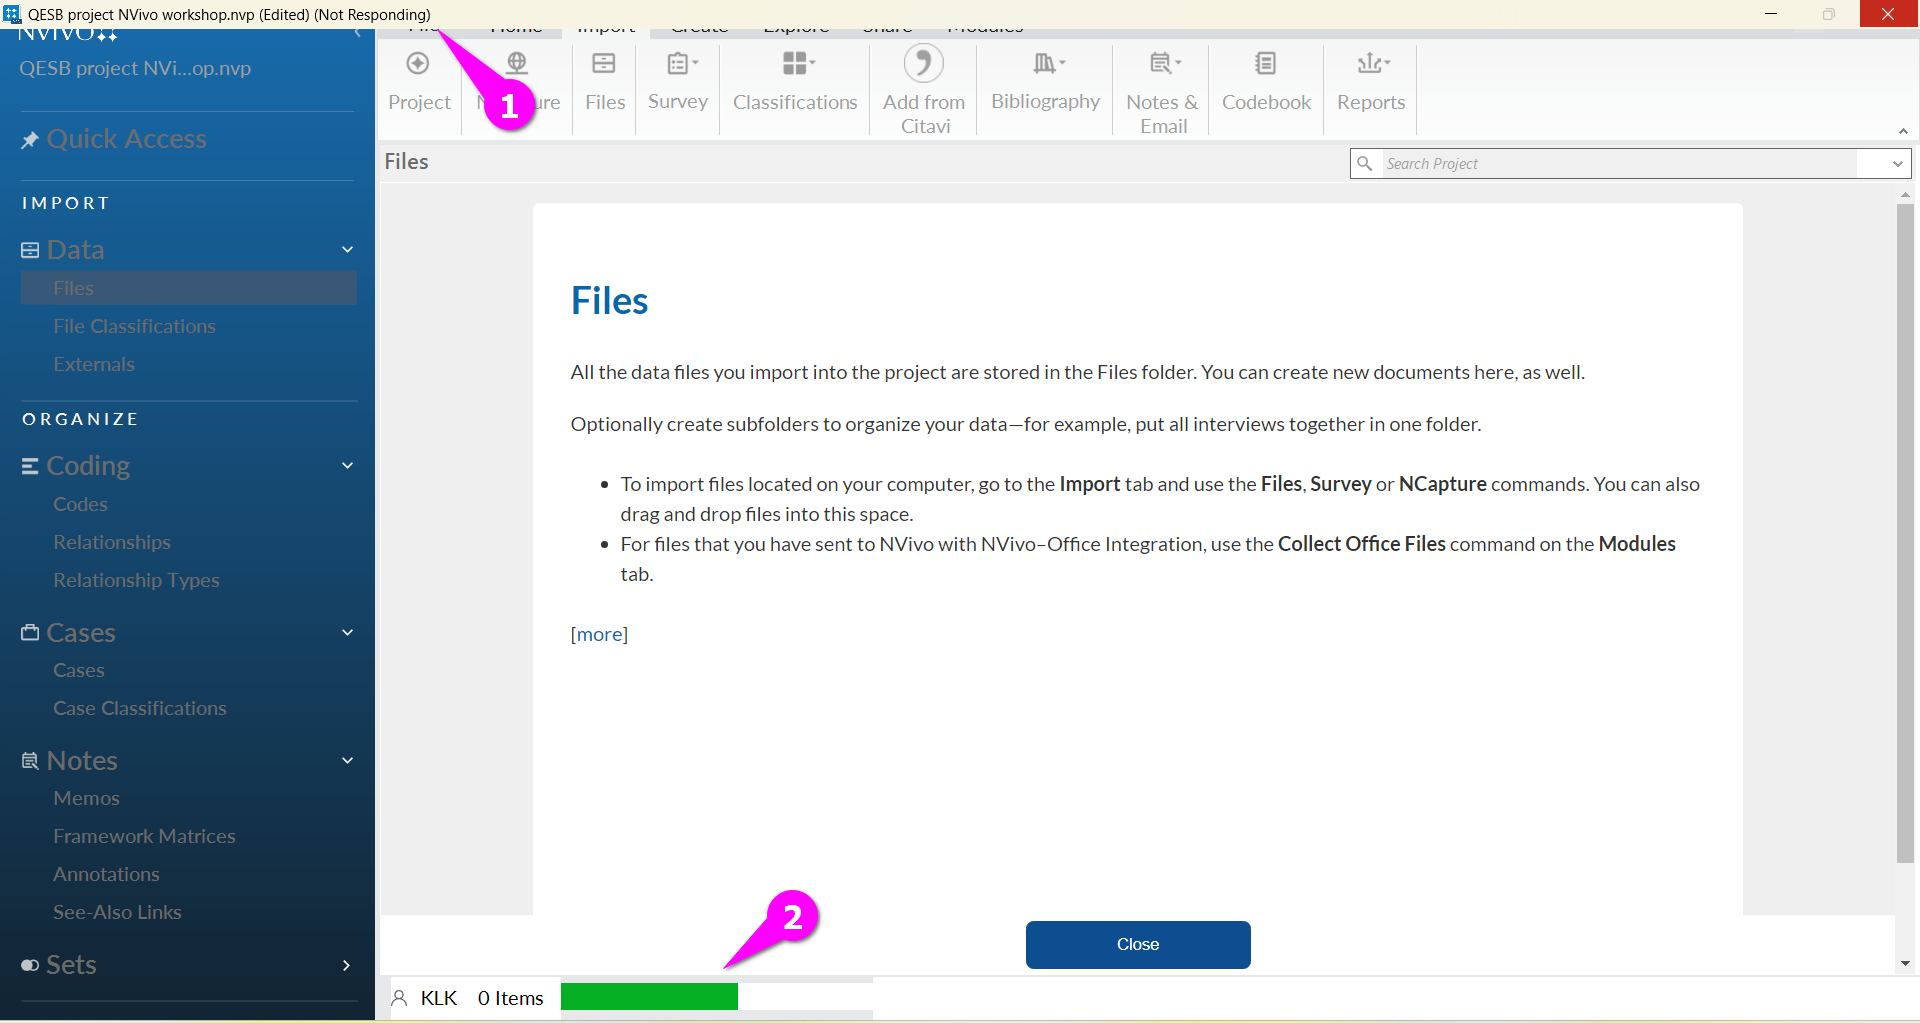
If your Nvivo hangs or says ‘not responding’ when you import files, don’t panic. This is normal Nvivo behaviour and usually resolves. It is a fussy program and if you have an older machine it can sometimes take a while to perform some actions. It does crash from time to time, which is why its important to save your work as you go.
A case represents a unit of analysis, and this is most commonly people you’ve interviewed, organisations you worked with, communities, families, etc. In this example, cases are people that have been interviewed. But it could be any kind of unit: people, places, organizations, events or other entities that you want to analyze and compare. Cases allow you to link information together related to that person, place or organisation. It makes it easy for you to see everything related to a single unit in one place. See the page on cases and case classifications for more info. Not all projects require cases, but if you make comparisons across people or any other units, it’s a good idea as opens up many other functionalities.
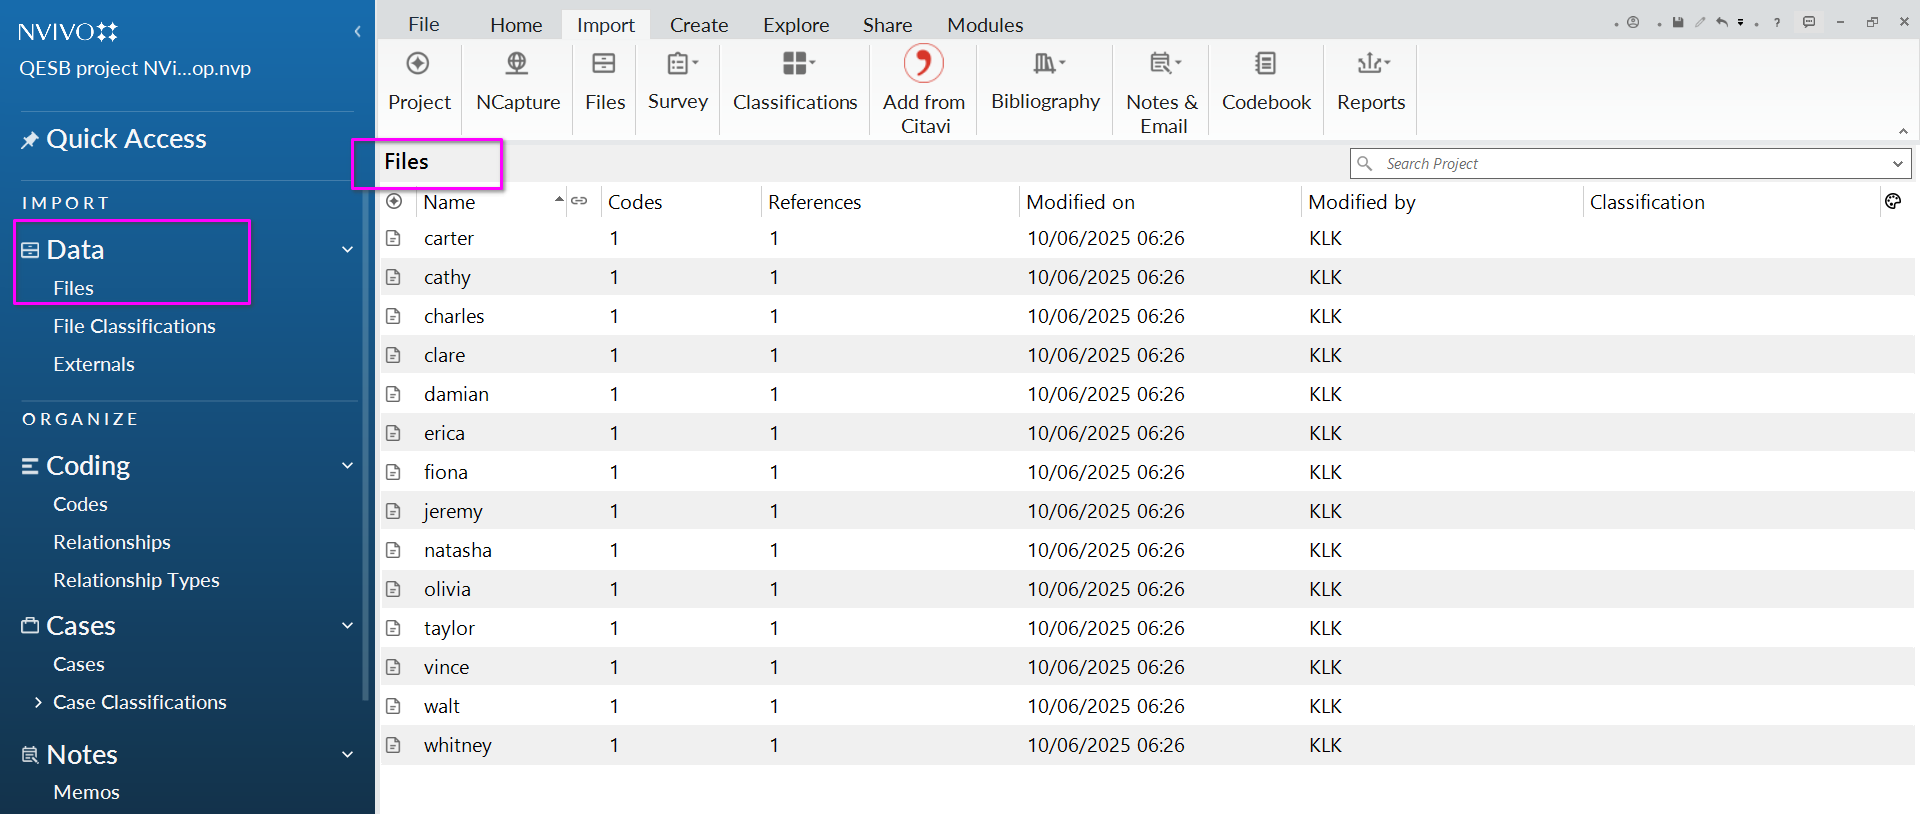
After import
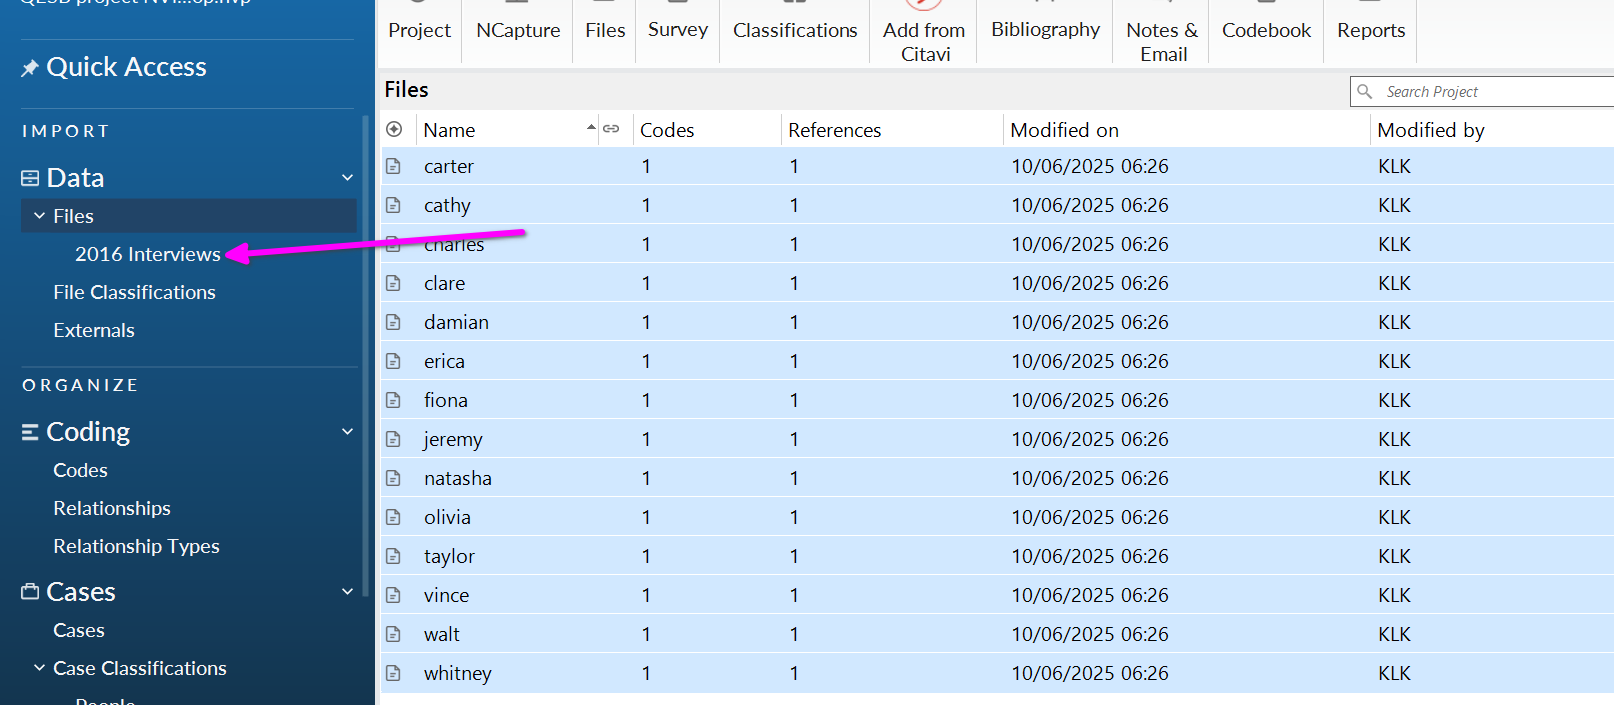
You will see your uploaded files appear in ‘Files’:
Windows users, you can see that cases have been created for these 14 people by scrolling down the left-hand menu to ‘cases’:
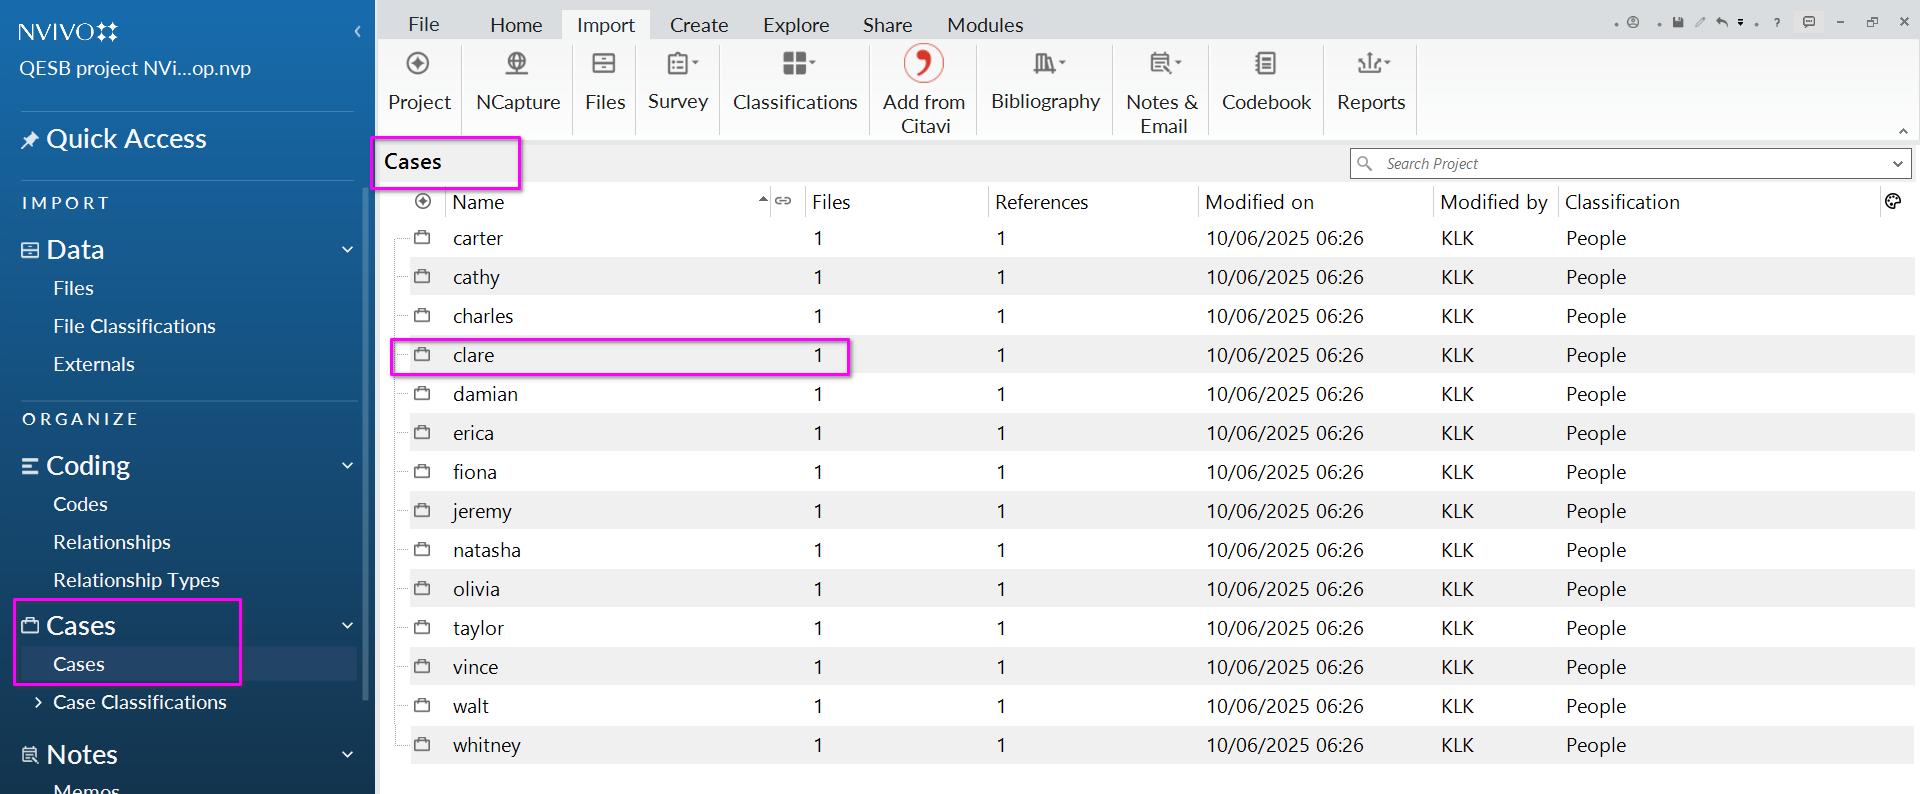
For each person, they now have a ‘case’ icon (1) and 1 file associated (the transcript) (2); they have been created under the classification ‘People’.

Manually create cases (macOS only)
Let’s now create cases manually so that we are at the same stage as windows users. This is very simple.
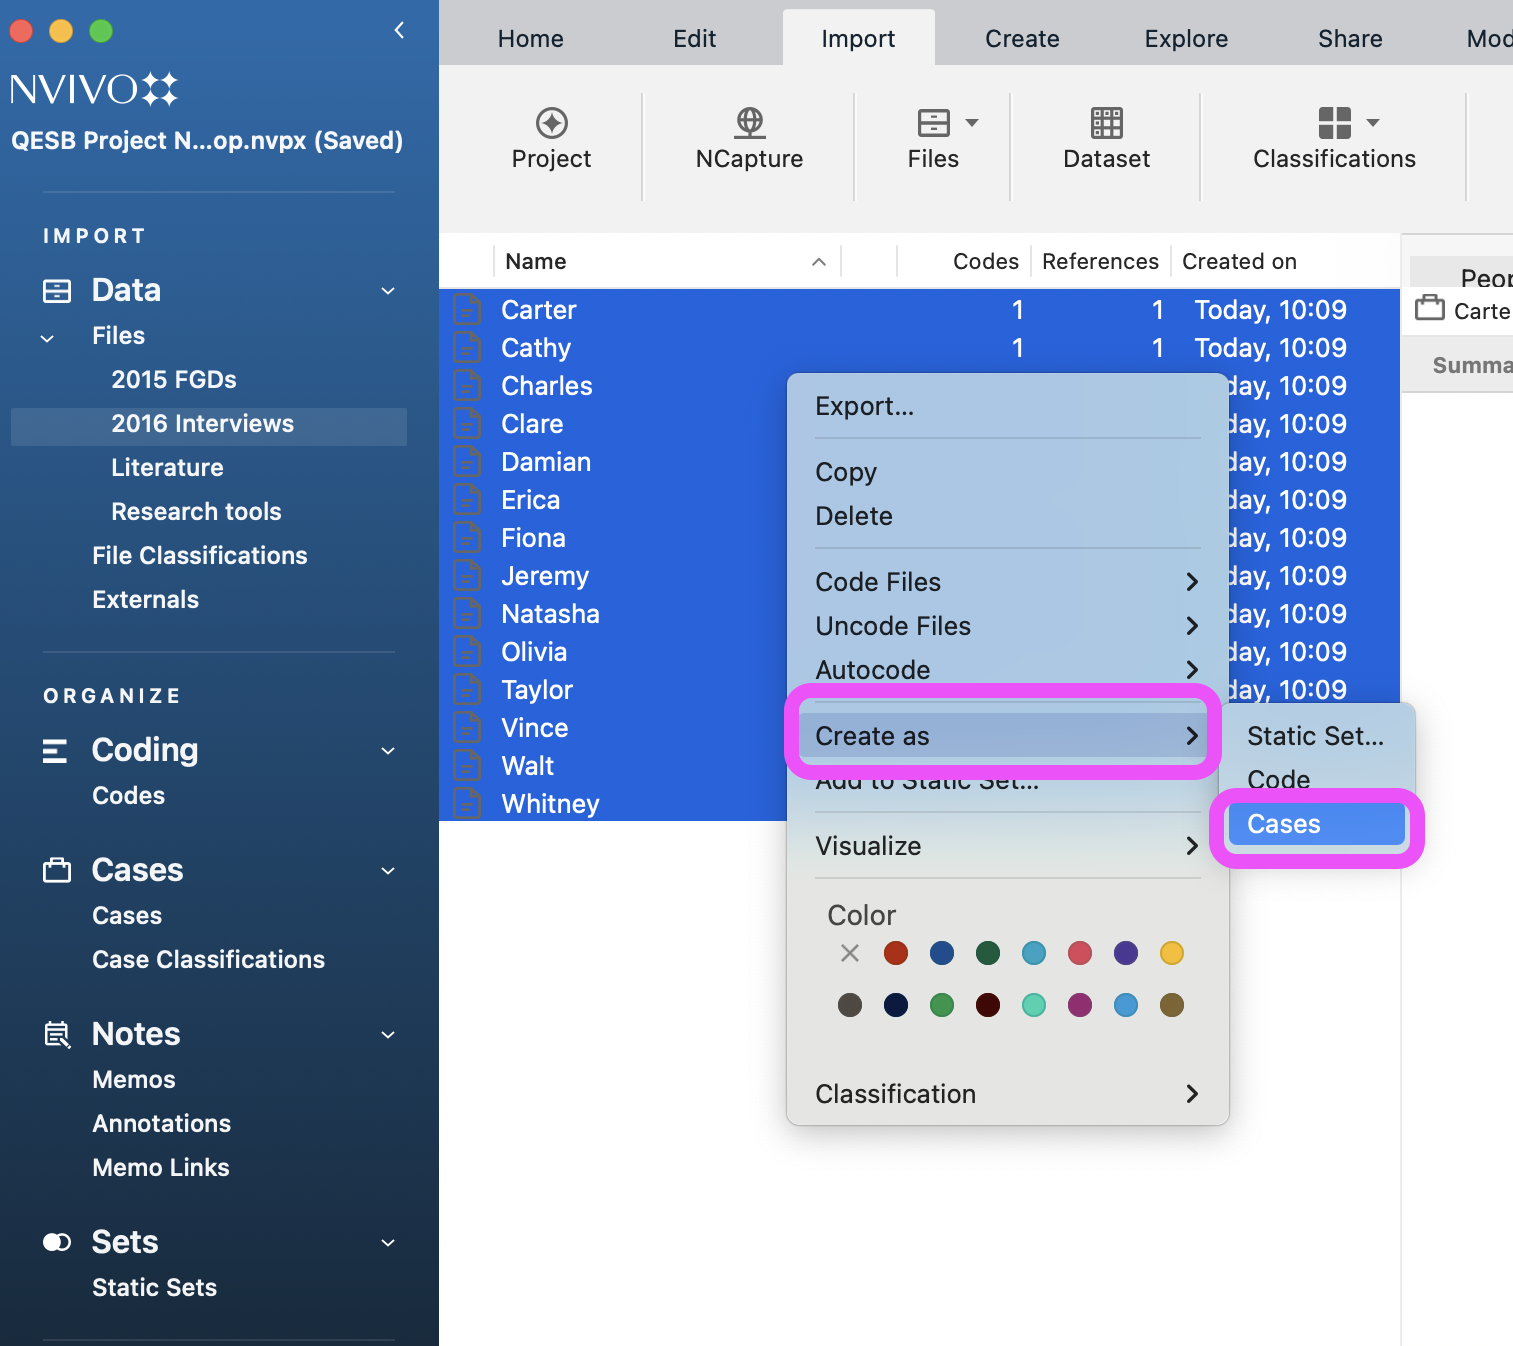
Within the folder of 2016 interviews, select all (Command+A), then right click, select create as-> cases.
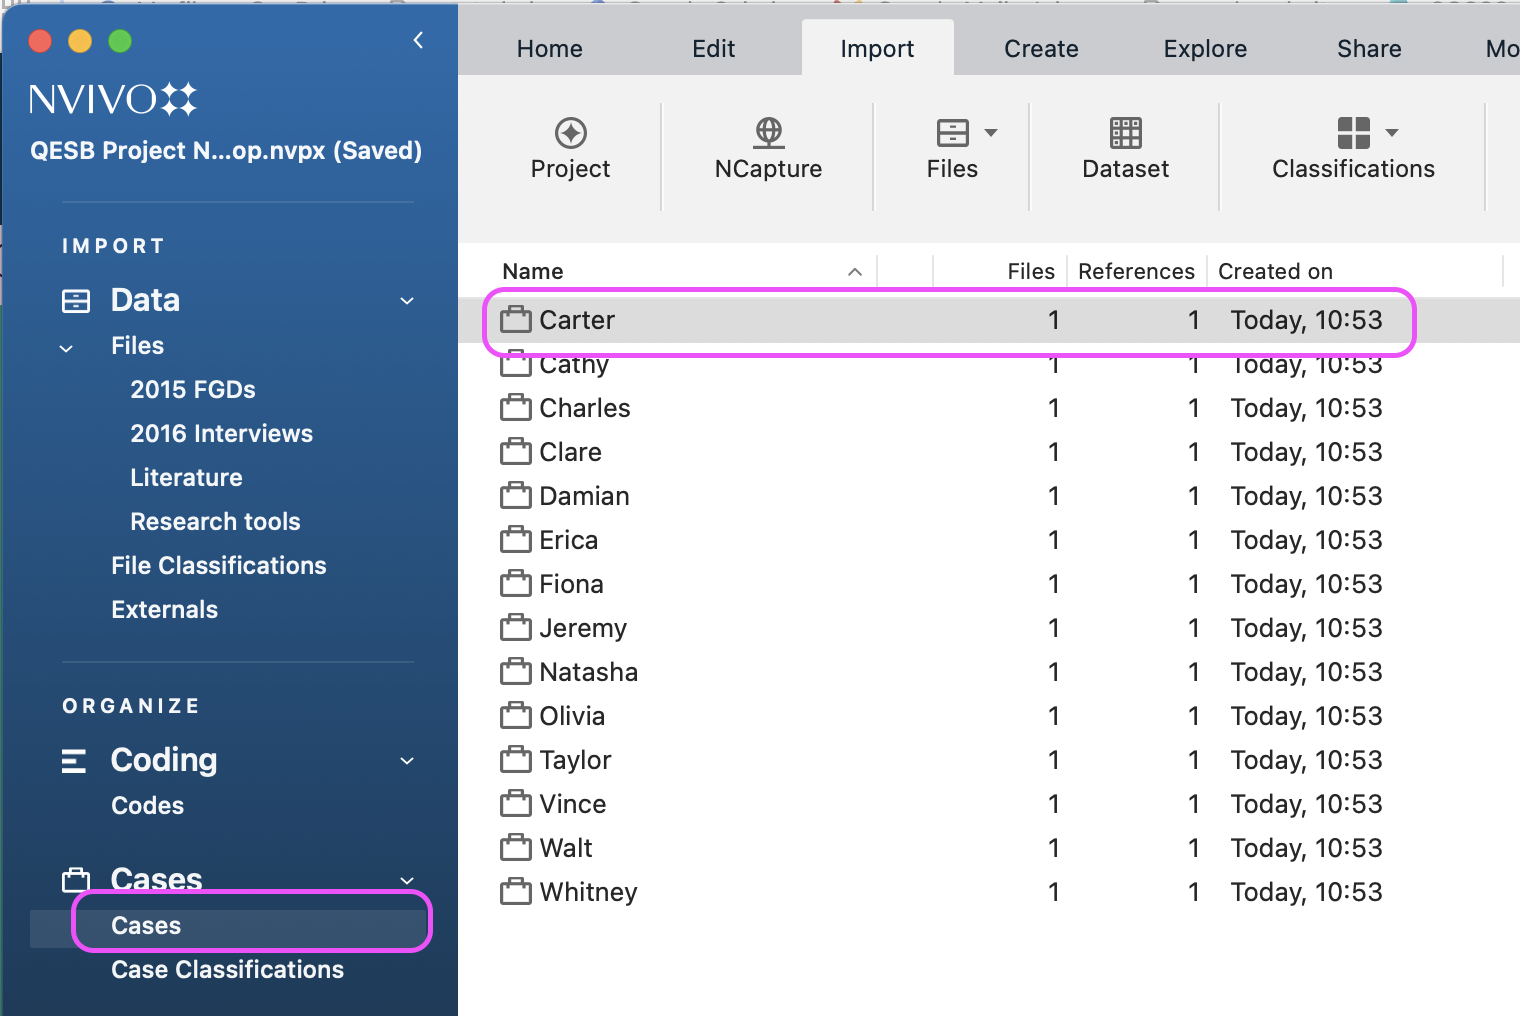
If you look at the menu on the left hand side, you will see you now have a case for every interview file:
We’ll come back to cases in a moment.
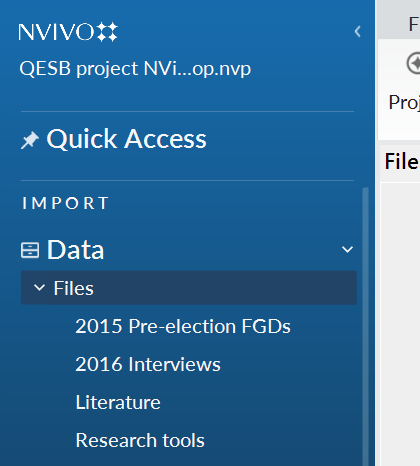
Organise interview transcripts into a folder
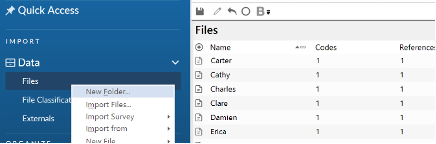
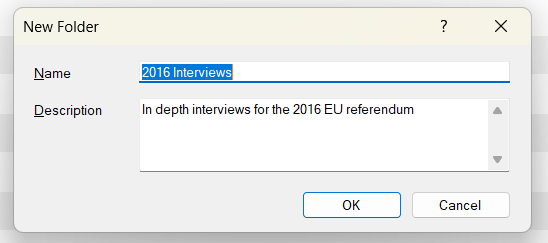
Create a new folder under files by right clicking on files, select ‘new folder’,name it ‘2016 Interviews’, add a brief description of you like, click OK to finish.
Move files to the 2016 Interviews folder, by selecting all (ctrl+A) and dragging and dropping to the new folder.
Create a folder structure
Right click on ‘Files’ in the Navigation View and create new folders for:
- 2015 pre-election FGDs
- Literature
- Research tools
Import 2015 focus group data
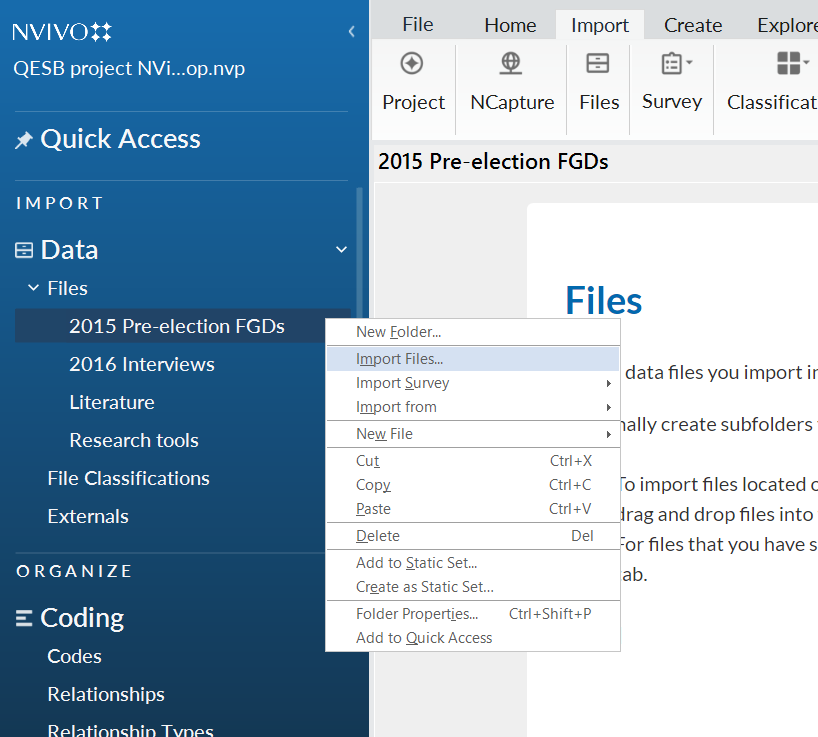
Right click on the ‘2015 pre-election FGDs’ folder in the Navigation view and select ‘Import Files’
In the pop-up window, navigate to your saved folder for 2015 FGDs, and import the three transcripts.
NVivo for macOS: You need to use the ribbon menu at the top to import files directly into the folders.
Windows users only: As you have already created cases when you imported the transcripts, DO NOT create cases again.

Instead, ensure that the box for ‘Create a case for each imported file’ is unticked.

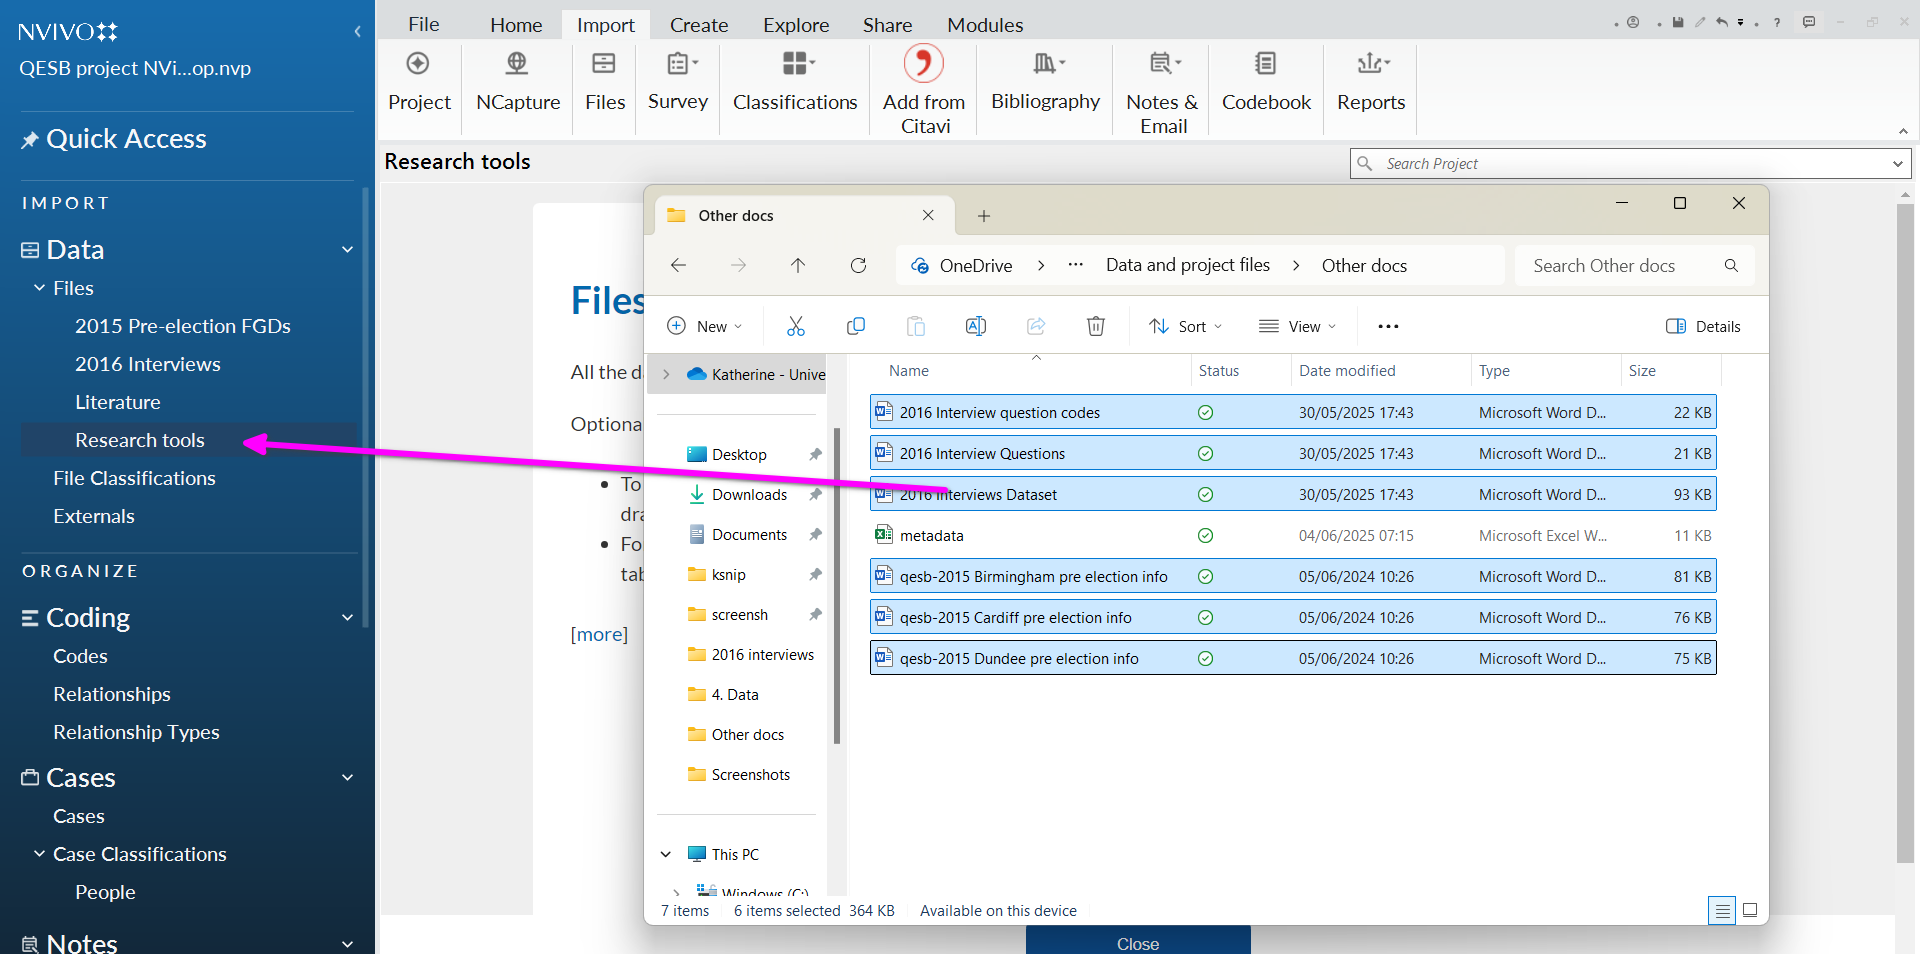
Import research tools but not metadata
We can also import files to by directly dragging and dropping them from your file explorer into NVivo.
To populate our ‘research tools’ folder, open the ‘other documents’ folder on your computer. Select all of the MS word documents (i.e. do not select ‘metadata’ excel file) and drag-and-drop them into list view space.
Import literature
Import ‘Lit’ files to ‘Lit’ folder.
Using the method of your choice, import the 3 files from the ‘Lit’ folder from your downloads into the ‘Lit’ folder in NVivo
Remember, DO NOT create new cases.